How we reduced image bandwidth by 86% migrating our media library to Cloudinary

Our site formidable.com has, for quite some time, served its images from the same S3 bucket as the rest of its static assets. We even built in some cursory optimizations by generating webp versions of appropriate image files in our CI pipeline and serving those to supported browsers. By merely migrating our media library to Cloudinary and serving our images using Cloudinary’s auto format/quality functionalities (using f_auto and q_auto request parameters), we reduced our image bandwidth by 86% across our 30 most front-facing web pages.

In this post, we’ll walk through the motivation for migrating to Cloudinary, the end result of doing so, and some technical details of the migration itself.
Why Cloudinary?
Previously, we were committing all of our website images into the git repository for our website. When a new jpg or png image was added, we had a script that would generate webp versions of those images and commit those into our repository. A few years into this flow, we were carrying around 2400 images in our git repository, and our workflow for adding new images was a bit clunky.
So while our git repository was getting bloated with images as-is, attempting to optimize them with next-gen formats and multiple sizes for better client-side optimizations would drastically exacerbate our problem. This left us in a bit of a bind: we have a relatively graphics-heavy website, and we want to optimize the site for end users – but doing so just wasn’t technically feasible with our existing setup.
At Formidable, we know a thing or two about images – we help clients all over the globe improve image usage on their sites and mobile apps. But we don’t have the time or infrastructure to build out a full-blown image processing and serving pipeline. Do you know who does? Cloudinary.
Cloudinary offers an impressive portfolio of media-related products, including a digital asset management (DAM) interface for us to easily manage our image assets, as well as a first-class image transformation and delivery pipeline. Cloudinary offers us extreme flexibility to optimize images on the frontend by e.g. serving responsive images – or just as impressively, provides tools that make it dead-simple to get huge gains on image delivery with just a couple quick settings by merely migrating our media library to their cloud and serving images from there.
The Migration to Cloudinary
Our migration to Cloudinary was effectively a four-step process.

These steps are outlined below.
- We wrote a script that crawled our image directory within our git repo, and used the Cloudinary upload API via their Node SDK to upload each image to our Cloudinary media folder. In this step, we ignored any webp images that were generated from “source” jpg or png assets, since Cloudinary will handle serving next-gen image formats for us.
- Once our asset library was living in Cloudinary, we needed to update our URLs across the entire site. Our content lives in markdown files – so we wrote a script to crawl every content markdown file, find instances of old image URLs and replace them with the appropriate Cloudinary URL with
f_autoandq_autoparameters applied. - The two steps above moved some 1200 source assets to Cloudinary and touched nearly 400 content files. There’s some risk there. To mitigate that risk, we wrote a script to check our production build output for any missing image links. By crawling each of our output HTML files and checking for missing images, we were able to verify that our images across the site stayed in tact.
- After validating the migration didn’t break any images, we deployed our migrated site to staging to kick the tires a bit and measure our results. We wrote a script that would compare our image payload on our existing site to the image payload on the migrated site for our 30 most front-facing pages to see what the end result.
Across these 30 pages, our image bandwidth was decreased by 86%! This was largely due to Cloudinary’s auto format (f_auto) and auto quality (q_auto) that automagically serves the appropriate file type for the browser (including next-gen file formats like AVIF where appropriate) with a quality that’s optimized to balance visual quality and file size, requiring no additional work on our end.
The Nitty Gritty: Technical Details of the Migration
We automated our migration to Cloudinary as much as possible, to save time and minimize any human errors. In this section, we’ll cover some of the technical details of this migration automation in case it’s of any use to others interested in a similar migration (or want to borrow techniques for other purposes).
Uploading ~1200 Assets to Cloudinary
Uploading ~1200 assets to Cloudinary takes a little bit of time. Our approach was to grab all image assets from our image folders (all nested under a static-public directory), filter out images living in /webp/ directories (which were generated webp versions of our source assets), and then use the Cloudinary Node SDK to upload each image to Cloudinary. We also maintained a STATUS_MAP object to keep track of our progress so that if the process short-circuited along the way, we could start over without having to re-upload assets that had already been uploaded.
// ./scripts/upload-to-cloudinary.js
const cloudinary = require("cloudinary").v2;
const path = require("node:path");
const fs = require("node:fs/promises");
const glob = require("glob");
const { STATIC_PUBLIC_PATH, ASSET_ROOTS, getCloudName, FOLDER } = require("./migration-config");

const STATUS_MAP_PATH = path.resolve(__dirname, "status_map.json");

// Configure cloudinary SDK to your account
cloudinary.config({
  cloud_name: "YOUR CLOUD NAME",
  api_key: "YOUR API KEY",
  api_secret: process.argv[2]
});

/**
 * Uploads all images in static-public to cloudinary (ignoring webp/ folders), which are
 *   generated files. Cloudinary will handle image formats for us 🤙
 */
const main = async () => {
  // get status map for tracking progress
  const statusMap = await fs
    .readFile(STATUS_MAP_PATH, "utf-8")
    .then(JSON.parse)
    .catch(() => ({}));

  // grab "source" assets using `glob`
  const nonWebpImageFiles = (
    await Promise.all(
      ASSET_ROOTS.map(
        root =>
          new Promise((resolve, reject) => {
            glob(
              path.join(
                STATIC_PUBLIC_PATH,
                root,
                "**/*.{png,webp,jpg,jpeg,svg,gif}"
              ),
              (err, files) => {
                if (err) return reject(err);
                resolve(files);
              }
            );
          })
      )
    ).then(all => all.flat())
  )
    .filter(p => !p.includes("/webp/")) // filter out generated files
    .map(p => p.replace(`${STATIC_PUBLIC_PATH}/`, "")) // clean up the path a bit
    .filter(p => !statusMap[p] || statusMap[p] === "needs upload"); // filter out images that have already been uploaded

  // Update our status map to include assets that have yet to be uploaded.
  nonWebpImageFiles.forEach(p => {
    statusMap[p] = "needs upload";
  });

  // fn we'll perodically call to save our status map
  const writeStatusMap = async () => {
    await fs.writeFile(STATUS_MAP_PATH, JSON.stringify(statusMap, null, 2));
  };

  // We'll try uploading in batches of 2 to save some time.
  const BATCH_SIZE = 2;
  for (let i = 0; i < nonWebpImageFiles.length / BATCH_SIZE; i++) {
    const group = nonWebpImageFiles
      .slice(i * BATCH_SIZE, (i + 1) * BATCH_SIZE)
      .filter(Boolean);

    await Promise.all(
      group.map(image =>
        cloudinary.uploader
          .upload(path.resolve(STATIC_PUBLIC_PATH, image), {
            public_id: getCloudName(image), // formatting for the public_id based on image path
            folder: FOLDER,
            overwrite: true
          })
          .then(() => {
            statusMap[image] = "uploaded";
          })
      )
    );

    if (i % 10 === 0) await writeStatusMap(); // Periodically save our progress
  }

  await writeStatusMap();
};

main().catch(console.error);
With this script in place, we were able to run node ./scripts/upload-to-cloudinary.js YOUR_API_SECRET and watch an episode of The Office while our machine uploaded our asset library to Cloudinary.
It’s worth noting that we specifically uploaded our assets to a dedicated folder in Cloudinary (via the folder field of cloudinary.uploader.upload) and had a custom formatting function getCloudName that transformed an image’s path into a public ID for that asset on Cloudinary – which was important for our next step of updating URLs across our site.
Updating our ~400 Content Files
After migrating our assets, we had to update our content files to reflect the new URLs for our image assets. We automated this by generating Cloudinary URLs from the existing src values, adding in our f_auto and q_auto parameters for a massive, “free” boost in image delivery.
// ./scripts/update-content.js
const glob = require("glob");
const fs = require("fs/promises");
const path = require("path");
const { ASSET_ROOTS, getCloudName, FOLDER } = require("./migration-config");

// Migration function
const main = async () => {
  // Collect all of our content MD files.
  const files = await new Promise((resolve, reject) => {
    glob(
      path.resolve(__dirname, "..", "src/content/**/*.md"),
      (err, files) => {
        if (err) return reject(err);
        resolve(files);
      }
    );
  });

  // Loop through each file, try to replace image URLs via regex, and see if anything changed
  for (const file of files) {
    const fileContents = await fs.readFile(file, {
      encoding: "utf-8"
    });

    // This is the REGEX magic to do replacements
    const newFileContents = s.replace(r, match => {
      const addFauto = !match.endsWith(".svg");
      const cId = getCloudName(match);
      return `https://res.cloudinary.com/YOUR_PROJECT_ID/image/upload/${
        addFauto ? "f_auto,q_auto/" : ""
      }v1675121564/${FOLDER}/${cId}`;
    });

    // continue or save new file contents
    if (newFileContents === fileContents) continue;
    await fs.writeFile(file, newFileContents);
  }
};

const r = new RegExp(
  `\/(${ASSET_ROOTS.join("|")})\/(.*)\.(png|jpe?g|svg|gif|webp)`,
  "g"
);

main().catch(console.error);
The beauty of this script is that, with a clean git branch, you can experiment with this to see the impact across the content files.
Validating our Migration: Hunting for Broken Images
At a cursory glance, it looked like our migration went well. But we know better than to trust gut instinct on a migration of this scale, so we wrote a script to actually check we didn’t break anything.
Since our site is a static site, we were able to do a production build which generated all of our site’s HTML files into a public directory. We then fed each one of those files into a check with broken-link-checker to check for broken images and logged those out to an output file. We actually caught four or five broken images with this script – images that were hard-coded in JavaScript source code files (and not in the markdown files we migrated). This script allowed us to patch and re-test and have confidence in our migration! Here’s the script.
// ./scripts/validate-migration.js
const fs = require("fs/promises");
const path = require("path");
const { HtmlChecker } = require("broken-link-checker");
const glob = require("glob");

const main = async () => {
  // grab our production-built HTML files.
  const htmlFiles = await new Promise((resolve, reject) => {
    glob(
      path.resolve(__dirname, "..", "public/**/*.html"),
      (err, files) => {
        if (err) return reject(err);
        resolve(files);
      }
    );
  });

  // store our results in a broken-images.json file
  const results = await fs
    .readFile(path.resolve(__dirname, "broken-images.json"), "utf-8")
    .then(JSON.parse)
    .catch(() => ({}));

  // for each file, we'll run a broken-site-checker check
  for (const p of htmlFiles) {
    if (results[p] === "all good") continue; // skip already-checked files
    else results[p] = [];

    console.log(`Checking ${p}...`);

    const html = await fs.readFile(p, "utf-8");

    const result = await Promise.race([
      new Promise((resolve, reject) => {
        const checker = new HtmlChecker(
          {},
          {
            complete: () => resolve("done"),
            error: error => reject(error),
            link: result => {
              if (result.broken && result.html.tagName === "img") {
                results[p].push(result.html.attrs.src);
              }
            }
          }
        );

        checker.scan(html, "http://localhost:3001");
      }),
      // Put a max time limit of 30 seconds, just to keep things moving along
      new Promise((_, reject) => setTimeout(reject, 30 * 1000))
    ])
      .then(() => "all good")
      .catch(() => "no bueno"); // capture failures to fully inspect

    if (result === "no bueno") results[p] = "no bueno";
    else if (results[p].length === 0) results[p] = "all good";

    // save our progress along the way.
    await fs.writeFile(
      path.resolve(__dirname, "broken-images.json"),
      JSON.stringify(results, null, 2),
      "utf-8"
    );
  }
};

main().catch(console.error);
This script will take awhile to run, so you might watch another episode of The Office while it runs.
Measuring our Results
To measure our results, we compared the image bandwidth for each of 30 paths from before and after the migration and determined what percent savings we had on each page. We also aggregated the results across all of the 30 pages and computed the percent savings – which is where our 86% savings number came from!
// ./scripts/measure-results.js
const puppeteer = require("puppeteer");
const fs = require("fs/promises");

const main = async () => {
  // pages we wanted to compare
  const pages = ["/", "/about", "/culture", /* ... */];

  // store our results in a results.json file
  const results = await fs
    .readFile("./results.json", "utf-8")
    .then(JSON.parse)
    .catch(() => ({}));

  // Page setup
  const browser = await puppeteer.launch({ headless: false });
  const page = await browser.newPage();
  await page.setViewport({ width: 1080, height: 1024 });
  const devtools = await page.target().createCDPSession();
  await devtools.send("Network.enable");

  // we run one instance/page of puppeteer and need to share some state across event emitters
  // so we store some state here, and pass it along to fns and reset when necessary.
  const state = {
    page,
    responseMap: new Map(),
    total: 0,
    imageCount: 0,
  };

  // Measure image bandwidth can be done by tapping into Network.responseReceived and Network.loadingFinished events
  devtools.on("Network.responseReceived", (evt) => {
    const res = evt.response;
    const headers = res?.headers;

    // only care about image requests
    if (
      headers?.["content-type"]?.includes("image") ||
      headers?.["content-type"]?.includes("binary/octet-stream")
    ) {
      state.responseMap.set(evt.requestId, evt.response);
    }
  });

  devtools.on("Network.loadingFinished", (event) => {
    // check if this event is found in our image response map
    const response = state.responseMap.get(event.requestId);
    if (!response) return;

    // accrue image count/size
    state.imageCount++;
    state.total += Number(event.encodedDataLength);
  });

  // Run the collection for our pages
  results.data = [];
  for (const p of pages) {
    results.data.push(await comparePages(state, p));
  }

  // close up puppeteer
  await browser.close();

  // And then lets aggregate the results and save them.
  const { control, treatment } = results.data.reduce(
    (acc, { control, treatment }) => {
      acc.control += control;
      acc.treatment += treatment;
      return acc;
    },
    { control: 0, treatment: 0 }
  );

  results.total_control = control;
  results.total_treatment = treatment;
  results.total_savings_percent = ((control - treatment) / control) * 100;
  results.pages_crawled = results.data.length;

  await fs.writeFile("./results.json", JSON.stringify(results, null, 2));
};

main().catch(console.error);

// compare control/treatment given a path.
const comparePages = async (state, path) => {
  const a = await getImagePayloadForPage(state, new URL(path, CONTROL_URL).toString());
  const b = await getImagePayloadForPage(state, new URL(path, TREATMENT_URL).toString());

  return {
    path,
    control: a,
    treatment: b,
    percent_savings: ((a - b) / a) * 100,
    image_count: state.imageCount,
  };
};
// our control/treatment URLs, at this point staging has the Cloudinary image URLs
const CONTROL_URL = "https://formidable.com";
const TREATMENT_URL = "https://formidable-3pb2rpm5b-formidable-labs.vercel.app";

// measure the size for a specific url
const getImagePayloadForPage = async (state, url) => {
  state.responseMap.clear();
  state.total = 0;
  state.imageCount = 0;

  await state.page.goto(url);

  // scroll to bottom of page, since many images are lazily loaded in based on visibility
  await state.page.evaluate(() => {
    window.scrollTo({
      left: 0,
      top: window.document.body.scrollHeight,
      behavior: "smooth",
    });
  });

  // wait for network to idle to ensure we captured everything
  await state.page.waitForNetworkIdle();

  return state.total;
};
Our results output ends up looking something like the following:
{
  "data": [
    {
      "path": "/",
      "control": 748140,
      "treatment": 389026,
      "percent_savings": 48.00090892079022,
      "image_count": 27
    },
    {
      "path": "/about",
      "control": 2044602,
      "treatment": 274799,
      "percent_savings": 86.55978033866738,
      "image_count": 35
    },
    /* ... */
  ],
  "total_control": 77223046,
  "total_treatment": 10819959,
  "total_savings_percent": 85.98869176955284,
  "pages_crawled": 30
}
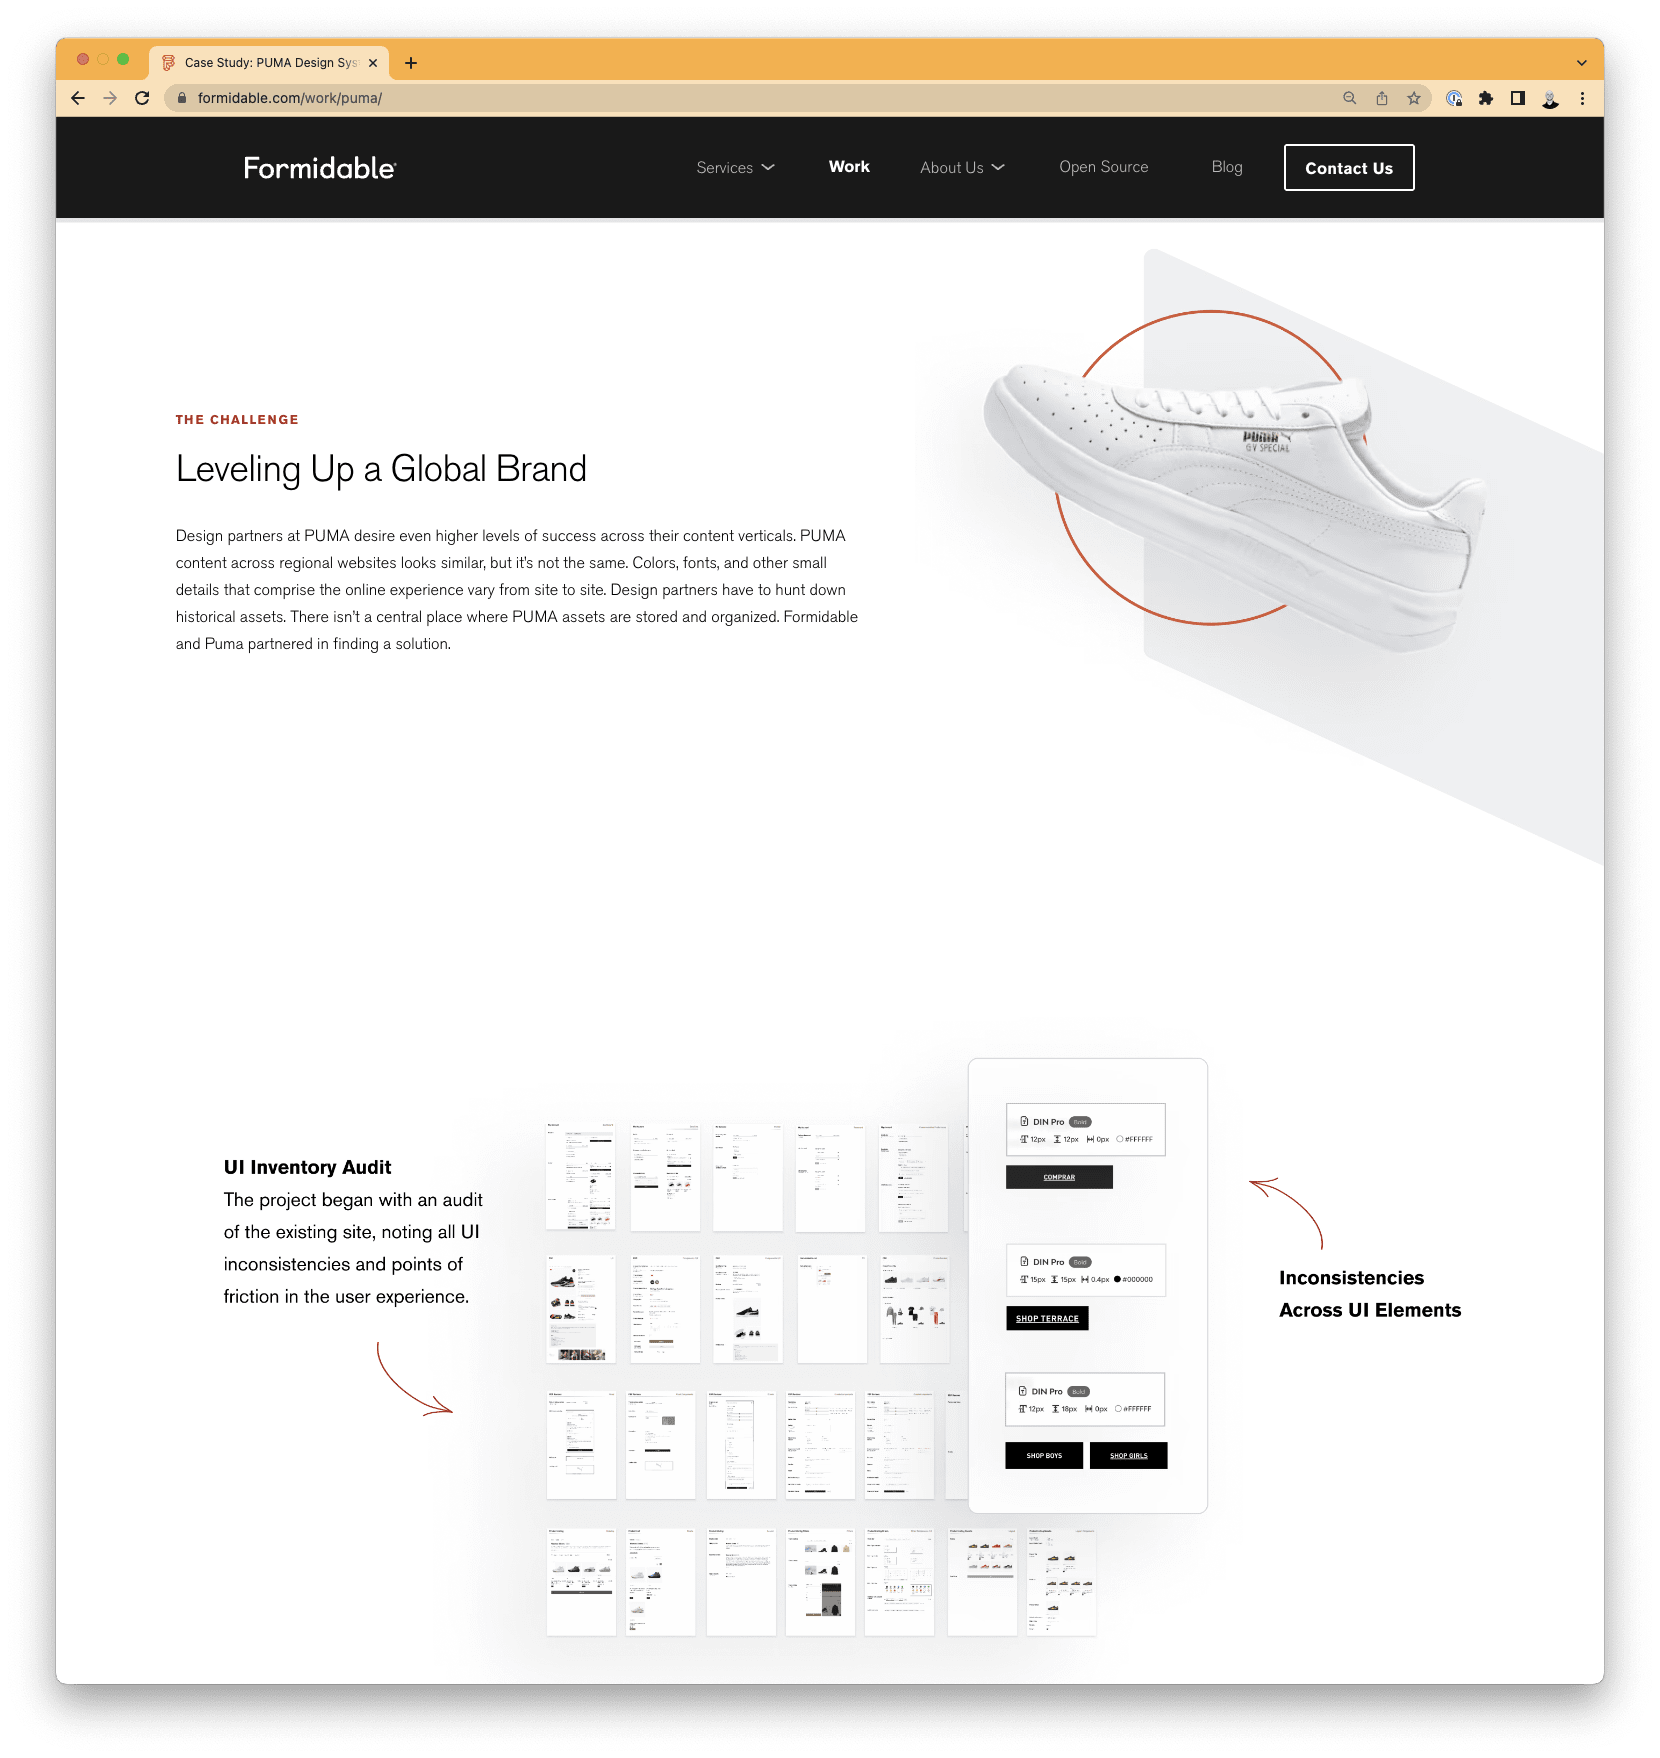
These results also allowed us to see where our biggest savings came from – and, perhaps not surprisingly, we found that our largest savings came from our most image-heavy pages such as this PUMA case study shown below.
This is just the beginning
Merely migrating to Cloudinary is saving us significant image bandwidth, which is great for our end-users and great for the world. However, we’ve only harnessed the powers of Cloudinary’s f_auto and q_auto features, and have yet to tap into responsive image sets and other client-side optimizations that are enabled by Cloudinary's flexible media APIs. By having our asset library on Cloudinary, and Cloudinary’s dynamic image transformation and AI functionalities, we’re in a position to enact image best-practices on our site without batting an eye at image processing architecture.
Related Posts
Responsive Images: Improving performance by letting the browser do the work
 Cody Crozier